What's new in The Falklands War: 1982
What's new in The Star and the Crescent
How to Edit Maneuver Graphics and Enemy SITTEMP
Maneuver Graphics provide boundaries in which you intend the player to play, tell him where he can initially place his forces, and orient him on an objective for the mission. When referenced in the OPORD, they give him all of the information he needs to play the scenario.
For a complete description of the maneuver graphics that are used in the US military, see the Armored Task Force User's Manual and FM 101-5-1, which ships with Armored Task Force in electronic format, on the CD.
The steps for editing the Enemy SITTEMP (which gives the player an idea of how the enemy may be arrayed) are identical except that, instead of initially selecting 'Maneuver Graphics', you select 'Enemy SITTEMP' from the 'Component'-'OPORD'-'Edit' menu.
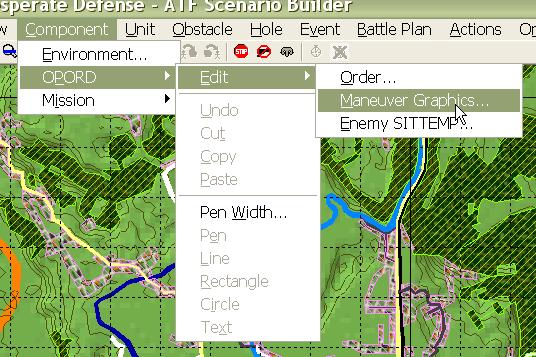
Initiate The Graphics Edit Mode:
Initially, your scenario does not have Maneuver Graphics. However, adding a Maneuver Graphics component is done automatically by the editor when you begin the process of Editing the graphics.
|
1. Select 'Component', 'OPORD', 'Edit', and 'Maneuver Graphics'. |
|
Change the Pen Width:
All graphics (Maneuver and Enemy SITTEMP) are drawn with the current 'pen'. By setting the width of the pen, you can change the thickness of all subsequent lines drawn while editing. Each graphic object you draw 'remembers' what pen width it was drawn with and will always draw itself with that pen width.
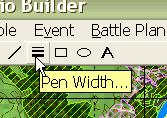
| 1. Select 'Pen Width', either from the toolbar or from the 'OPORD' sub-menu of the 'Component' menu. |
 |
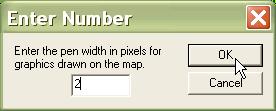
| 2. Enter a number corresponding to the number of pixels for lines in subsequently created graphics. |
 |
Draw a Line on the Graphics:
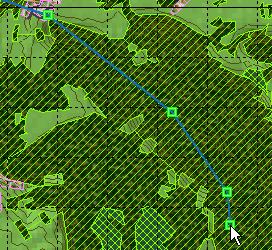
The line is the most basic object you will create to build graphics. A line is defined by a number of points that you identify on the map. Each point you identify will be highlighted with a green square.
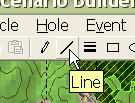
| 1. Select 'Line', either from the toolbar or from the 'OPORD' sub-menu of the 'Component' menu. |
 |
| 2. Begin left-clicking on the map to indicate the points in the line. |
 |
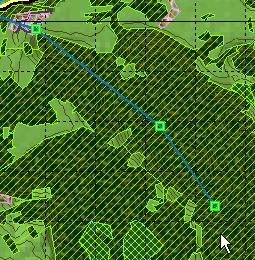
| 3. Right-click anywhere on the map when you are done drawing. |
 |
Draw Rectangles and Circles:
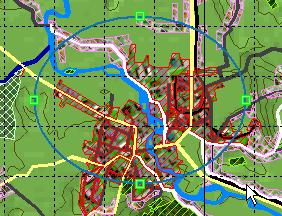
Circles and rectangles indicate important locations such as artillery position areas, objectives, and attack positions. The ATF Scenario Builder makes it easy to build them.
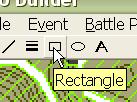
| 1. Select 'Rectangle', either from the toolbar or from the 'OPORD' sub-menu of the 'Component' menu. |
 |
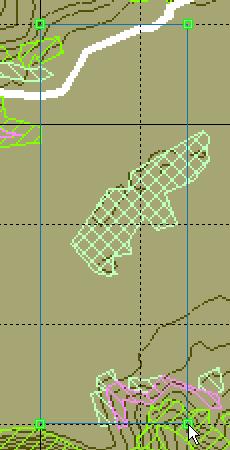
| 2. Left-click on the location of one of the corners of the rectangle and, while holding down the left mouse button, drag to the opposite corner of the rectangle. Release the left mouse button when you are done drawing the box. |
 |
| 3. The circle is drawn in exactly the same way except that you select 'Circle', either from the toolbar or from the 'OPORD' sub-menu of the 'Component' menu. |
 |
Draw Text:
The Text Tool allows you to add text to your maneuver graphics, so that you can reference objects from the Maneuver Graphics in your OPORD.
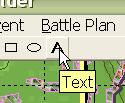
| 1. Select 'Text', either from the toolbar or from the 'OPORD' sub-menu of the 'Component' menu. |
 |
| 2. Enter the text you wish to have displayed on the screen. |
 |
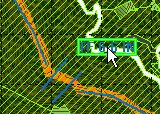
| 3. Move the cursor to the map and you will find that it is dragging a Text object around the map. When it is where you want it, left-click once to 'drop' the object in position. |
 |
Copy Graphic Objects:
The ATF Scenario Builder makes it easy to draw a large number of similar graphics quickly by copying or cutting objects from one location and pasting them in multiple locations elsewhere.
| 1. Select an object or group of objects either by clicking on one object, shift-clicking on multiple objects, or drag-clicking over a group of Graphic objects. |
 |
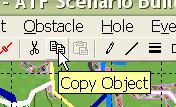
| 2. Select 'Copy' either from the toolbar or from the 'OPORD' sub-menu of the 'Component' menu. To cut the object or group of objects, select 'Cut' instead. |
 |
Paste Copied Graphic Objects:
Once you have copied graphics, the 'Paste' function will become active. This allows you to place any number of copies of the copied graphics on the map.
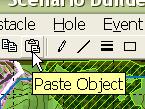
| 1. Select 'Paste' either from the toolbar or from the 'OPORD' sub-menu of the 'Component' menu. |
 |
| 2. When you move the cursor to the map, you will find that it is dragging a copy of the copied graphics around the map. When the copy is where you want it, left-click once to 'drop' the copy in position. |
 |
Edit the Enemy SITTEMP or End Editing:
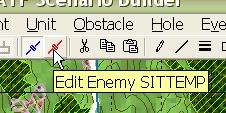
| To edit the Enemy SITTEMP component, Select 'Enemy SITTEMP' either from the toolbar or from the 'Edit' sub-menu of the 'OPORD' sub-menu of the 'Component' menu. To cancel editing of graphics select the currently selected graphics type (Maneuver Graphics if you are editing the Maneuver Graphics, Enemy SITTEMP if you are editing the SITTEMP). Or, you can hit the 'ESC' key. |
 |
