What's new in The Falklands War: 1982
What's new in The Star and the Crescent
How to Create a Hierarchy
Sometimes, no Unit Package will exist to add the type of organization you want to add to your scenario. In such a case, you are going to have to build a hierarchy from scratch. No problem! ATF Scenario Builder makes this almost as simple as adding a unit package.
NOTE: In Armored Task Force, enemy platoons are represented on the map and in windows as companies, and companies as battalions. Besides this, in every respect, they behave just as friendly hierarchies.
Add a New Hierarchy:
Before completing this step, make sure that no units or hierarchies are selected as a group on the map. If they are, ATF Scenario Builder will try to add them to the newly created hierarchy, which can have unexpected results.
|
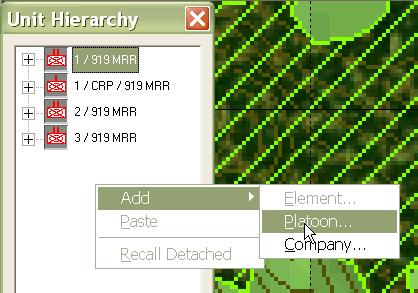
1. Right-click away from any hierarchies or units in the Hierarchy Tree window for the faction to which you want to add your new hierarchy. Select 'Platoon' from the 'Add' menu (or 'Company' if you want to add a company). |
|
|
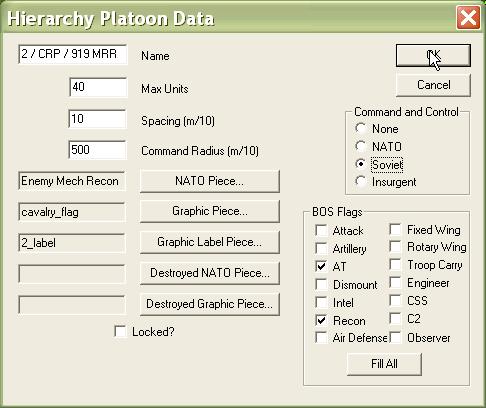
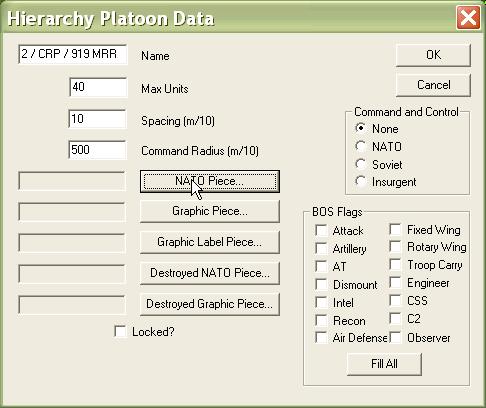
2. To change the attributes or appearance of a hierarchy, make changes in the Hierarchy Platoon or Company Data dialog.
|
|
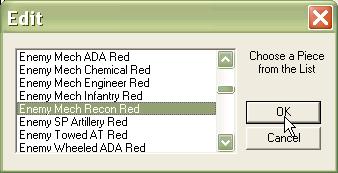
| 3. Select a NATO piece which represents the hierarchy. They are all of the type 'Enemy...' or 'Friendly...' or 'Neutral...'. |
 |
| 4. You will also need to select a Graphic Piece and Graphic Label Piece for the Hierarchy. For more on these attributes, see Edit a Hierarchy. |
 |
Copy a Hierarchy:
In the ATF Scenario Builder, there is no 'Copy' function. However, there is a 'Cut' function, which allows you to cut the hierarchy out of the Hierarchy Tree window and move it to the clipboard. You can then paste any number of copies of the hierarchy back to the Hierarchy Tree.
We recommend that you only Cut and Paste empty hierarchies. Cutting and Pasting hierarchies that contain Platoons and Units can have unexpected results.
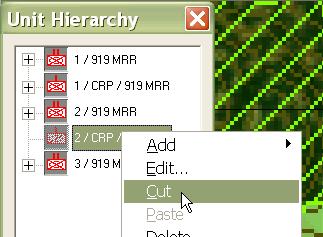
| 1. Right-click on a hierarchy (again, we suggest, empty) and select 'Cut'. |
 |
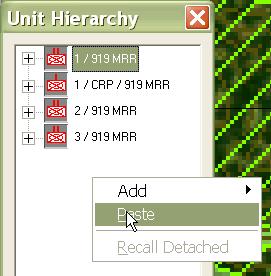
| 2. Now, right-click anywhere on the Hierarchy Tree away from units and hierarchies and select 'Paste'. |
 |
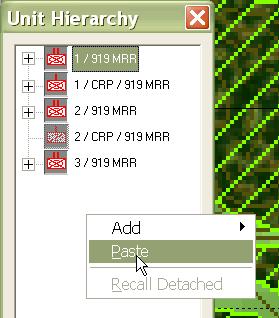
| 3. To add a second copy of the hierarchy, again right-click anywhere on the Hierarchy Tree away from units and hierarchies and select 'Paste'. |
 |
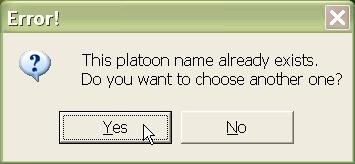
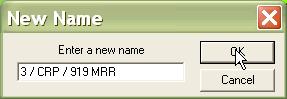
| 4. The ATF Scenario Builder will not allow you to create a hierarchy with a duplicate name. Select 'Yes' to change the name of the second hierarchy... |
 |
| 5. ... And change the name to finish the process. |
 |