What's new in The Falklands War: 1982
How to Add a 'Moving Indirect Fire' Capability to a Vehicle
The Star and the Crescent introduces a new vehicle capability, 'Moving Indirect Fire'. While initially intended to replicate the fire support provided by platforms such as the AC-130 Spectre Gunship, it can be generalized to replicate any situation in which you want the player to have the capability to target weapons carried by a vehicle that are not impacted by line of site.
This topic assumes that you have opened a vehicle for editing, using the steps found at the beginning of the previous topic, 'Add a Radar Capability to a Vehicle'.
Add the Moving Indirect Fire Attribute
The first step is to actually add the attribute to the vehicle.
|
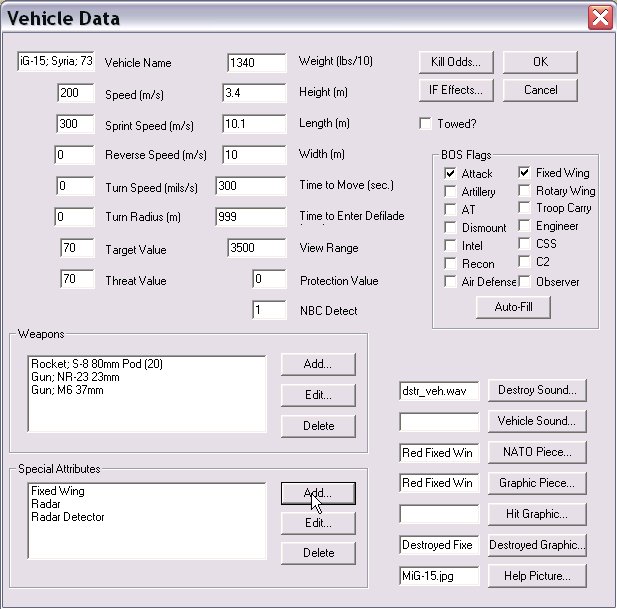
1. Select 'Add' from the 'Special Attributes' portion of the 'Vehicle Data Dialog'. |
|
|
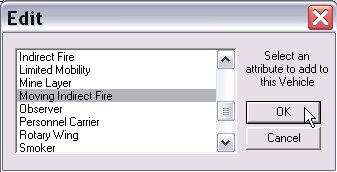
2. Select the 'Moving Indirect Fire' and 'OK' |
|
|
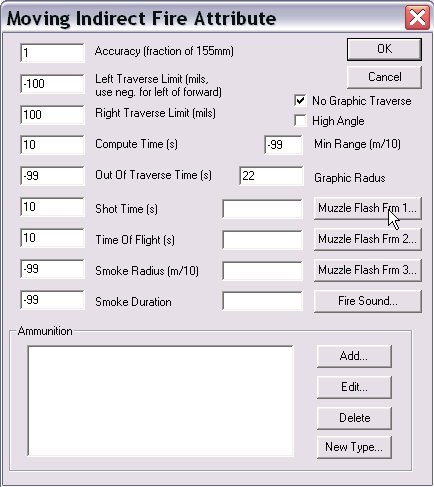
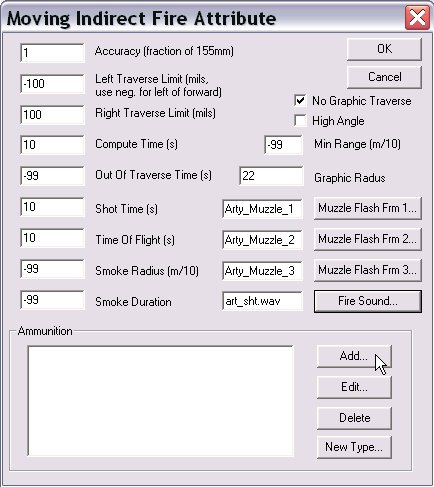
3. Enter all of the data for the 'Moving Indirect Fire Attribute' dialog. Accuracy. This is a fraction that indicates the dispersion of rounds. Less than one decreases accuracy. Left and Right Traverse. These are the traverse limits of the weapon system (in mils). Select -99 for either or both entries to disable traverse limits. Compute Time. This time is added to the first round of any fire mission planned for this vehicle. Out Of Traverse Time. If the fire mission is outside traverse limits, this time is also added to the first round of the fire mission. Shot Time. This time is added to every round of the fire mission, not just the first round. Time of Flight. This is the base time of flight for a round at maximum range. Actual time of flight is computed adjusted from this time. Smoke Radius and Duration. Not used. No Graphic Traverse. The vehicle or turret will not be drawn 'turned' to the direction of fire. High Angle. If checked, this is a high angle indirect fire system (like mortars) and requres a high angle FDC (see below). Min Range. The minimum range (in 10s of meters) for fire misions. -99 to ignore. Graphic Radius. The number of pixels that the burst graphic will be drawn from the center of the turret or chassis graphic. Select the "Muzzle Flash" buttons to select the graphic pieces for each frame of the muzzle burst. |
|
|
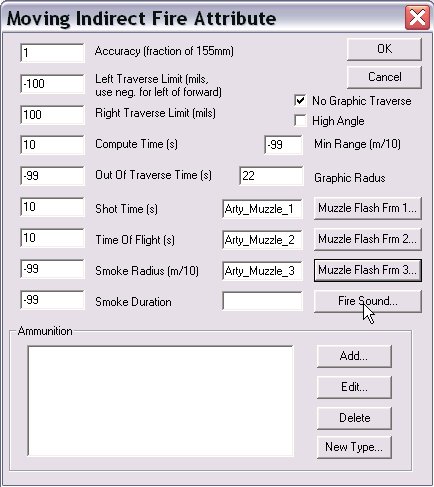
4. Select the 'Fire Sound Button' to specify the sound the vehicle will make when firing. |
|
|
5. Select 'Add' under ammunition to select indirect fire ammunition for this capability. If you have not made any for this vehicle yet, you can select 'New Type...' to generate new types of ammo. |
|
|
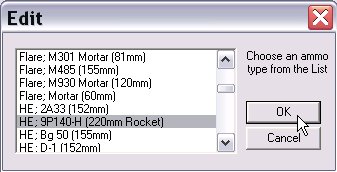
6. Select an ammo type and select 'OK'. |
|
|
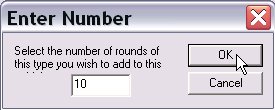
7. Select the number of rounds of this type that the vehicle will carry. |
|
|
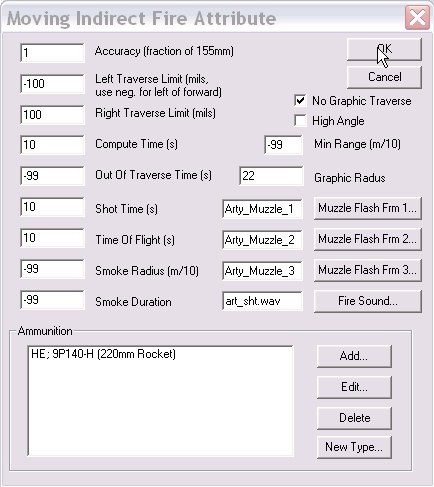
8. Select 'OK' to complete adding the capability. |
|
|
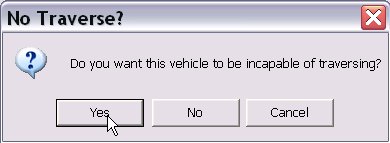
9. If you select 'Yes', the vehicle will cancel, rather than traversing to fire, fire missions outside its traverse limits. |
|
|
10. If you select 'Yes', the vehicle will not fire missions while stopped. |

|
Add the Fire Direction Center Attribute
Because this capability is an indirect fire capability, the vehicle requires a fire direction center to fire. This must either be a separate vehicle, which has the duty of providing technical fire direction, or, in a case such as the AC-130 Specter Gunship, the vehicle itself.
Here, we demonstrate adding the 'Fire Direction Center' capability to the same vehicle. If you want the FDC to be a separate vehicle, you will have to assure that it is in the same hierarchy, in order for this vehicle to be able to accept and execute fire missions.
|
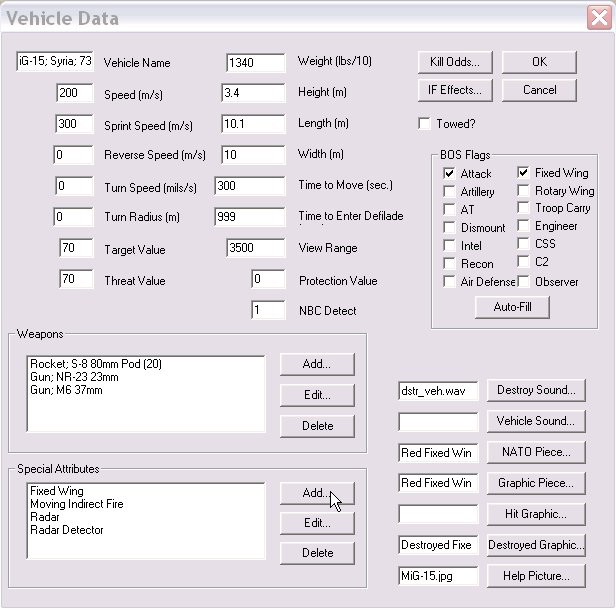
1. Select 'Add' from the 'Special Attributes' portion of the 'Vehicle Data' dialog. |
|
|
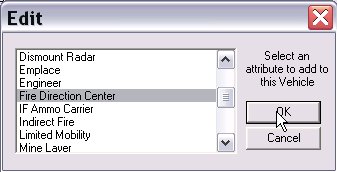
2. Select 'Fire Direction Center' and 'OK'. |
|
|
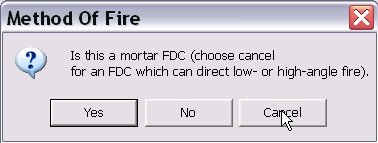
3. The Fire Direction Center 'Method of Fire' must match that of the 'Moving Indirect Fire' capability we want it to direct. Select 'Yes' for 'High Angle', 'No' for 'Low Angle' or 'Cancel' for both types of fire (a 'Universal' FDC). |
|
Next Step: Add the 'Direct Fire Burst' Capability to a Weapon