What's new in The Falklands War: 1982
What's new in The Star and the Crescent
How to Add an Event Box Condition
The basic method for building a Faction AI script is to first, plan paths for enemy hierarchies, then plan Missions for enemy hierarchies, and then, finally, create a Faction AI that triggers units to begin movement and execute Missions as triggers are met.
Now that we have planned all of the enemy paths, and we have planned and canceled the Missions for all our hierarchies, we are building a Faction AI script. At its heart, a Faction AI script is just a list of triggers, or conditions that must be met, and orders to be executed upon those triggers.
An 'Event Box' condition is the second most commonly used trigger in a Faction AI script. It tells Armored Task Force to look at a location on the map, and, when it contains a specified number of vehicles of a specified group or hierarchy, do something.
Add the Event Box Condition:
The basic steps of the addition of an 'Event Box' condition are to add the event box, add the condition, and then edit the condition attributes.
|
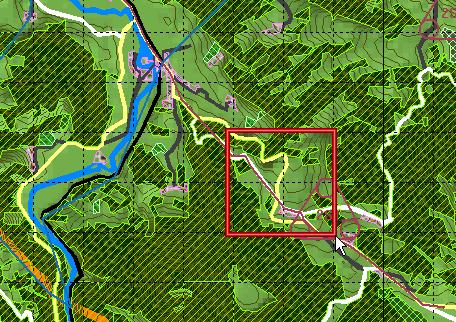
1. The first step is to create an Event Box. See Create
an Event Box for details on how to do this.
If you are currently editing a Faction AI, you will have to close it in order to do this. The 'Event Box' condition will also accept Event Ellipses. |
|
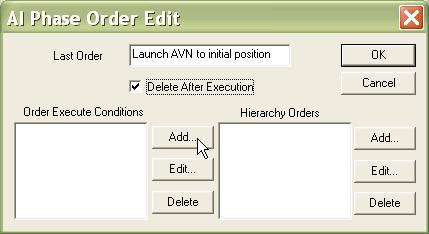
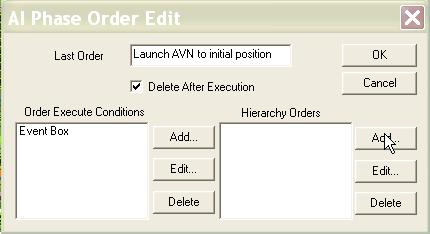
| 2. Now, you can add the condition. The condition can be used wherever conditions are accepted: 'Abort Conditions' in the base Faction AI, 'Phase End Conditions' for an AI Order Phase, or 'Order Execution Conditions' in an AI Phase Order. |
 |
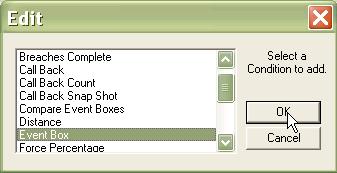
| 3. When prompted, select the 'Event Box' condition. |
 |
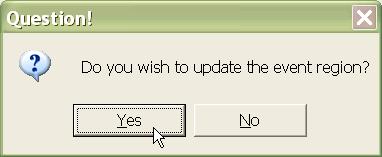
| 4. This prompt is provided for editing the Faction AI. If you come back and edit the script, and the correct Event Box is no longer selected, select 'No' and the old Event Box will be retained in the condition. |
 |
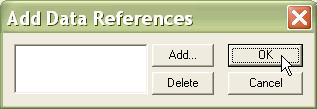
| 3. NOT COMMONLY USED. You will be prompted to add Data References. If we want the condition to use any of the 'Prerequisite Data' from the initial AI Order dialog, we specify it here. This is most commonly used if we have a large number of events which all look at the same Event Ellipse location. We create an 'Objective Ellipse' item in the 'Prerequisite Data'. Then we specify the stored 'Objective Ellipse' data item we want to look at here. |
 |
4. Finally, we tell the condition what we want to look for in
the specified location.
|
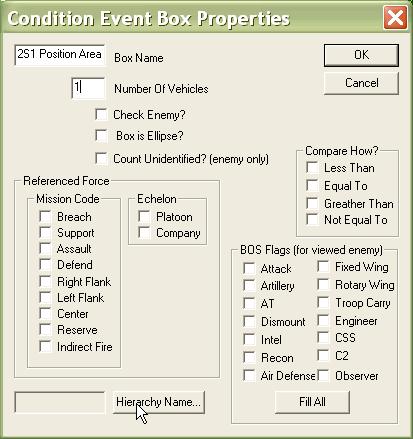 |
| 5. Usually, you will select 'Hierarchy Name' and choose the hierarchy in the Faction you want to count. If 'Hierarchy Name' is left blank, the condition will look at the whole faction. If 'Check Enemy' is selected, this entry is ignored. |
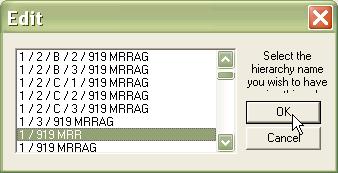 |
| 6. In this example, we are going to look at an Event Box we drew around the 2S1 Position Area location, for 1 vehicle of the hierarchy '1 / 919 MRR'. If one or more vehicles is in this box, the condition will return 'true'. |
|
| 7. With the condition set, we can assign orders to be executed when this condition is true. |
 |